This tutorial is probably also available as a Jupyter notebook in the demo folder in the polymake source and on github.
Different versions of this tutorial: latest release, release 4.13, release 4.12, release 4.11, release 4.10, release 4.9, release 4.8, release 4.7, release 4.6, release 4.5, release 4.4, release 4.3, release 4.2, release 4.1, release 4.0, release 3.6, nightly master
Hands on tropical geometry
This is a minimal tutorial for 3d-printing tropical surfaces and tropical curves. The resulting digital models can also be used for high quality renders.
For questions on or beyond the tutorial, visit the polymake forums: https://forum.polymake.org/
Basic preperations for this notebook
This code cell should run before any of the others
> script("files/3d_printing_with_x3d/3d_printing_helping_subs.pl");   # loading helper scripts
> # needs to be done before
> application "tropical";
>
> $x3d_dir="/tmp/x3ds/";                   # designated folder for x3d files (leave empty for current folder)
> if (!-d $x3d_dir) { mkdir $x3d_dir; }    # create the folder if it does not exist
Tropical surfaces
A: creating tropical surfaces in polymake
A tropical surface in euclidean 3-space is also a tropical hypersurface, and the simplest way to create a tropical hypersurface is by specifying a tropical polynomial which cuts it out. This can be done through a suitable string. Note that the polynomial needs to be homogeneous and that the first coordinate will be set to 1 for the affine picture. To control which variable comes first, one can supplement an array of variable names.
> $quadric = toTropicalPolynomial("min(1+2*w, 1+2*x, 1+2*y, 1+2*z, w+x, w+y, w+z, x+y, x+z, y+z)", qw( w x y z ));
> $TQuadric = new Hypersurface<Min>(POLYNOMIAL=>$quadric);
> $TQuadric->VISUAL;
Alternatively, one can specify the polynomial through an exponent matrix and a coefficient vector.
> $mQuadric = [ [2,0,0,0], [0,2,0,0], [0,0,2,0], [0,0,0,2],
>               [1,1,0,0], [1,0,1,0], [1,0,0,1],
>               [0,1,1,0], [0,1,0,1], [0,0,1,1]];
> $cQuadric = [1,1,1,1,0,0,0,0,0,0];
> $TQuadric = new Hypersurface<Min>(MONOMIALS=>$mQuadric, COEFFICIENTS=>$cQuadric);
> $TQuadric->VISUAL;
B: exporting tropical surfaces from polymake
There are many options one can pass to a VISUAL routine in Polymake in order to customize the look of the exported 3d-model. Some of them are useful for 3d printing, others should rather stay hidden. The most basic configuration is the following, which tells polymake not to visualize the vertices and edges.
> $surface_opts = {VertexStyle=>'hidden', EdgeStyle=>'hidden'};
> x3d($TQuadric->VISUAL($surface_opts), File=>$x3d_dir."filename.x3d");
One can also explicitely specify the bounding box of the model. This is very useful when creating one model from multiple objects, e.g., a tropical curve on a tropical surface. The first line below creates a bounding box around the vertices of the tropical surface:
> $bFacets = polytope::bounding_box_facets($TQuadric->affine_chart->VERTICES,offset=>1,surplus_k=>0.4, make_cube=>1);
> x3d($TQuadric->VISUAL($surface_opts,BoundingFacets=>$bFacets),File=>$x3d_dir."TQuadric.x3d");
For more options, please see the polymake tutorial on visualization.
C: solidifying tropical surfaces
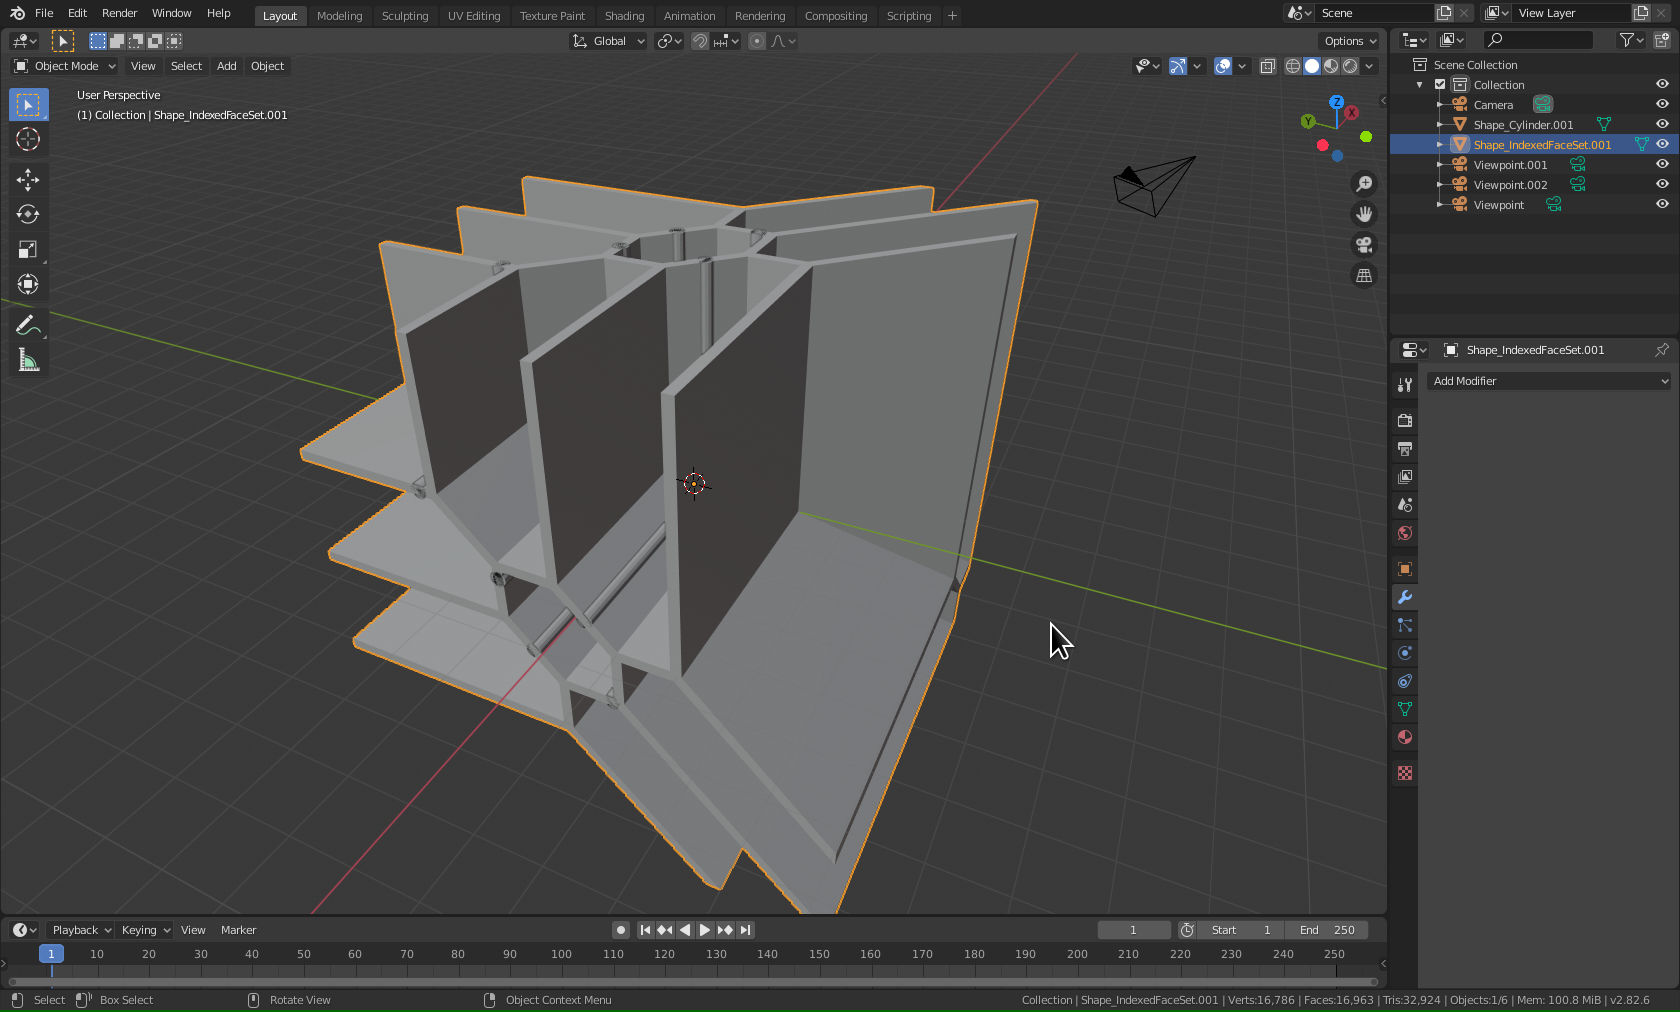
All 3d printable models need volume. This can be done by solidifying the surface in Blender and/or Polymake.
Option A: Blender
The following tutorial was made in blender 2.81.
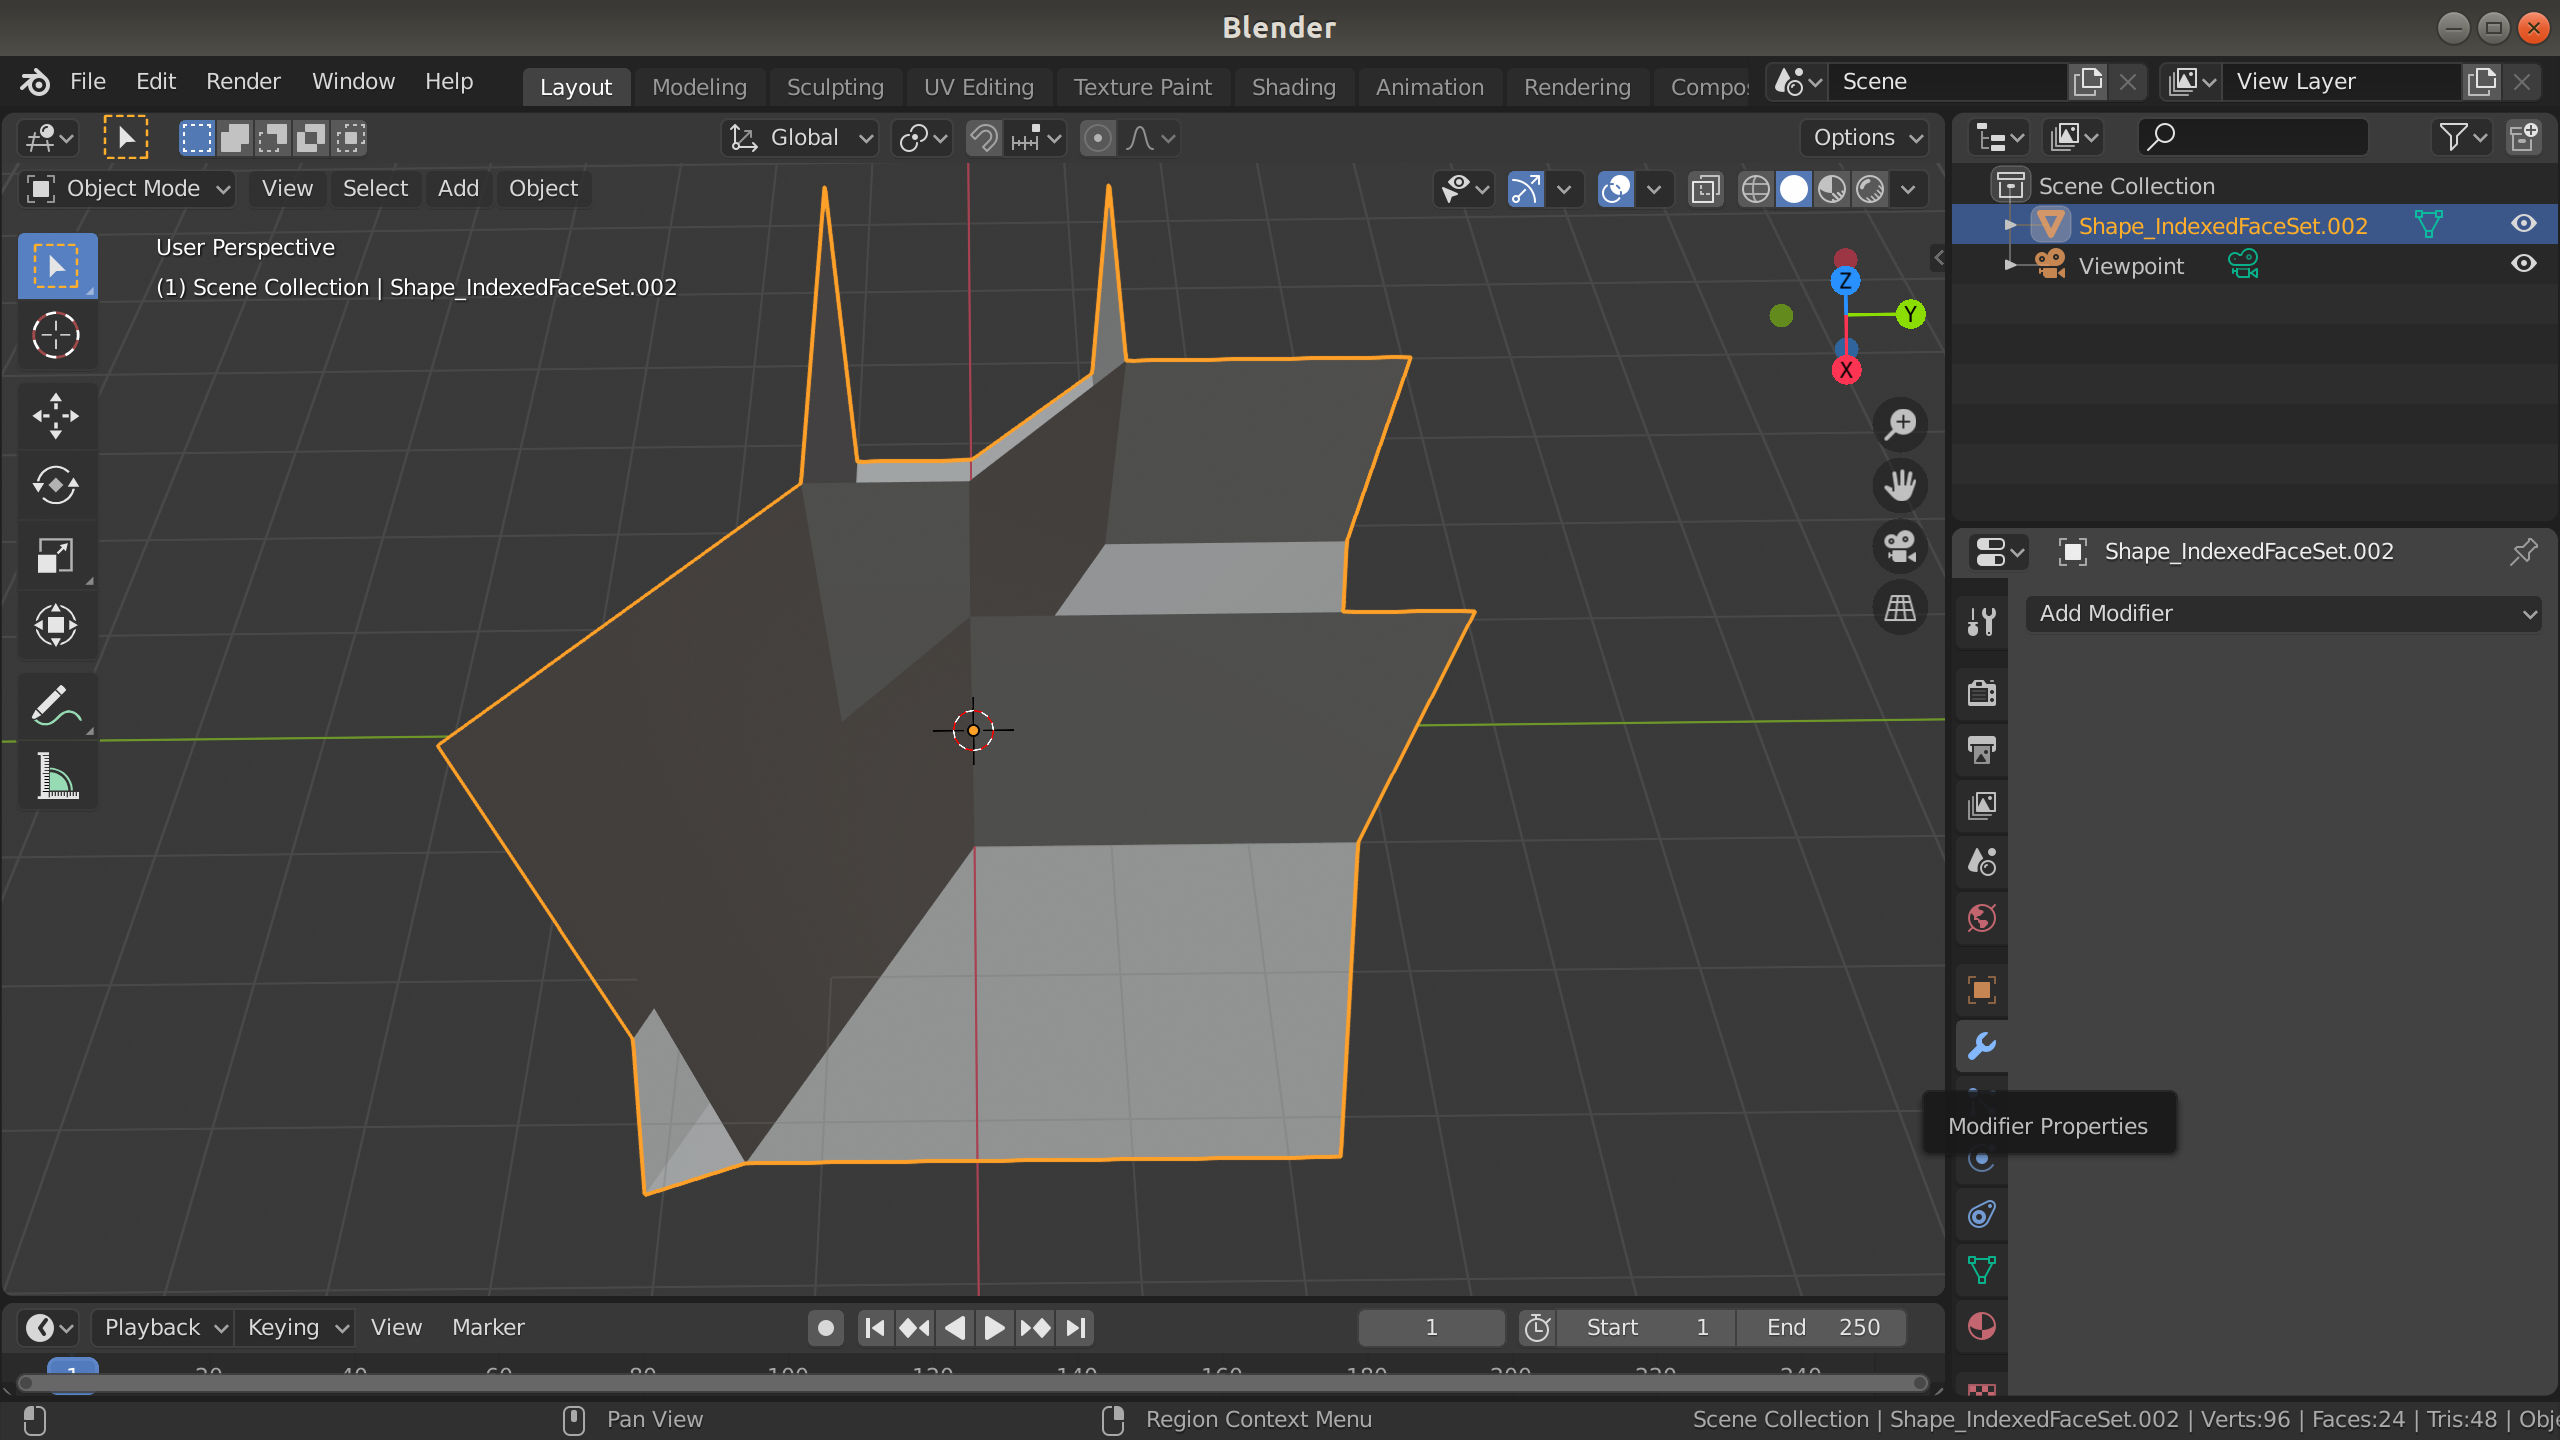
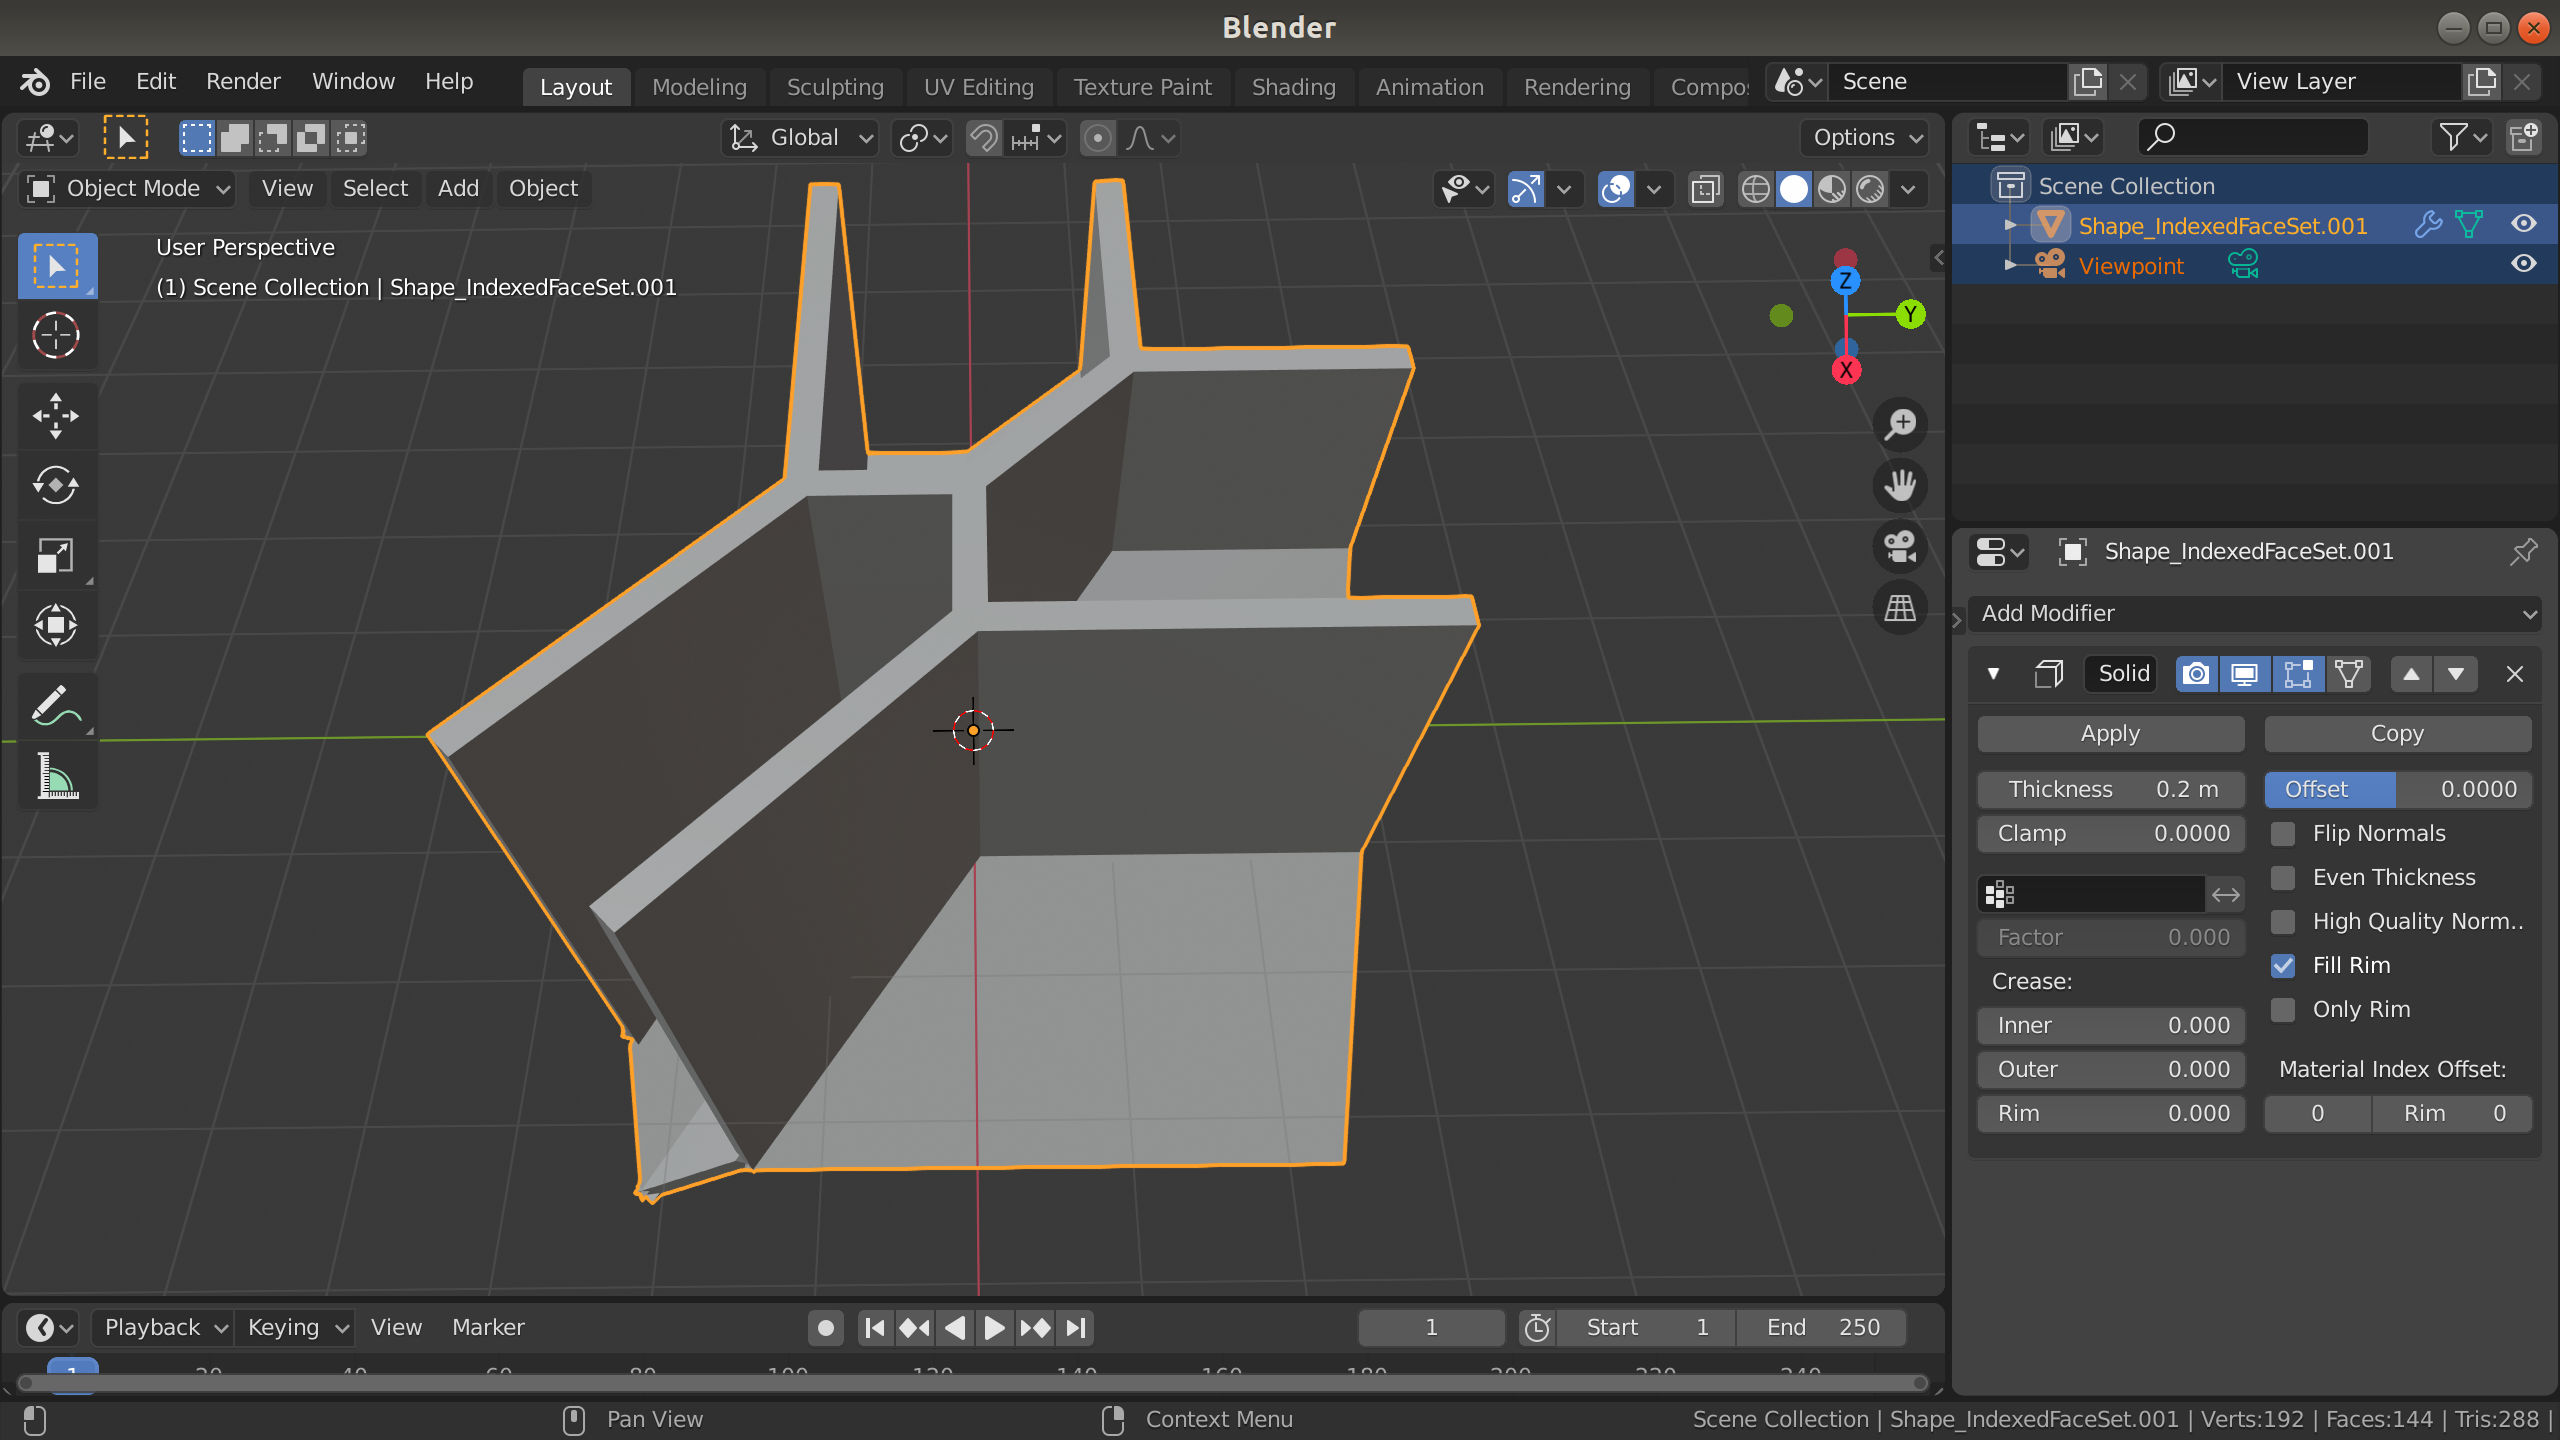
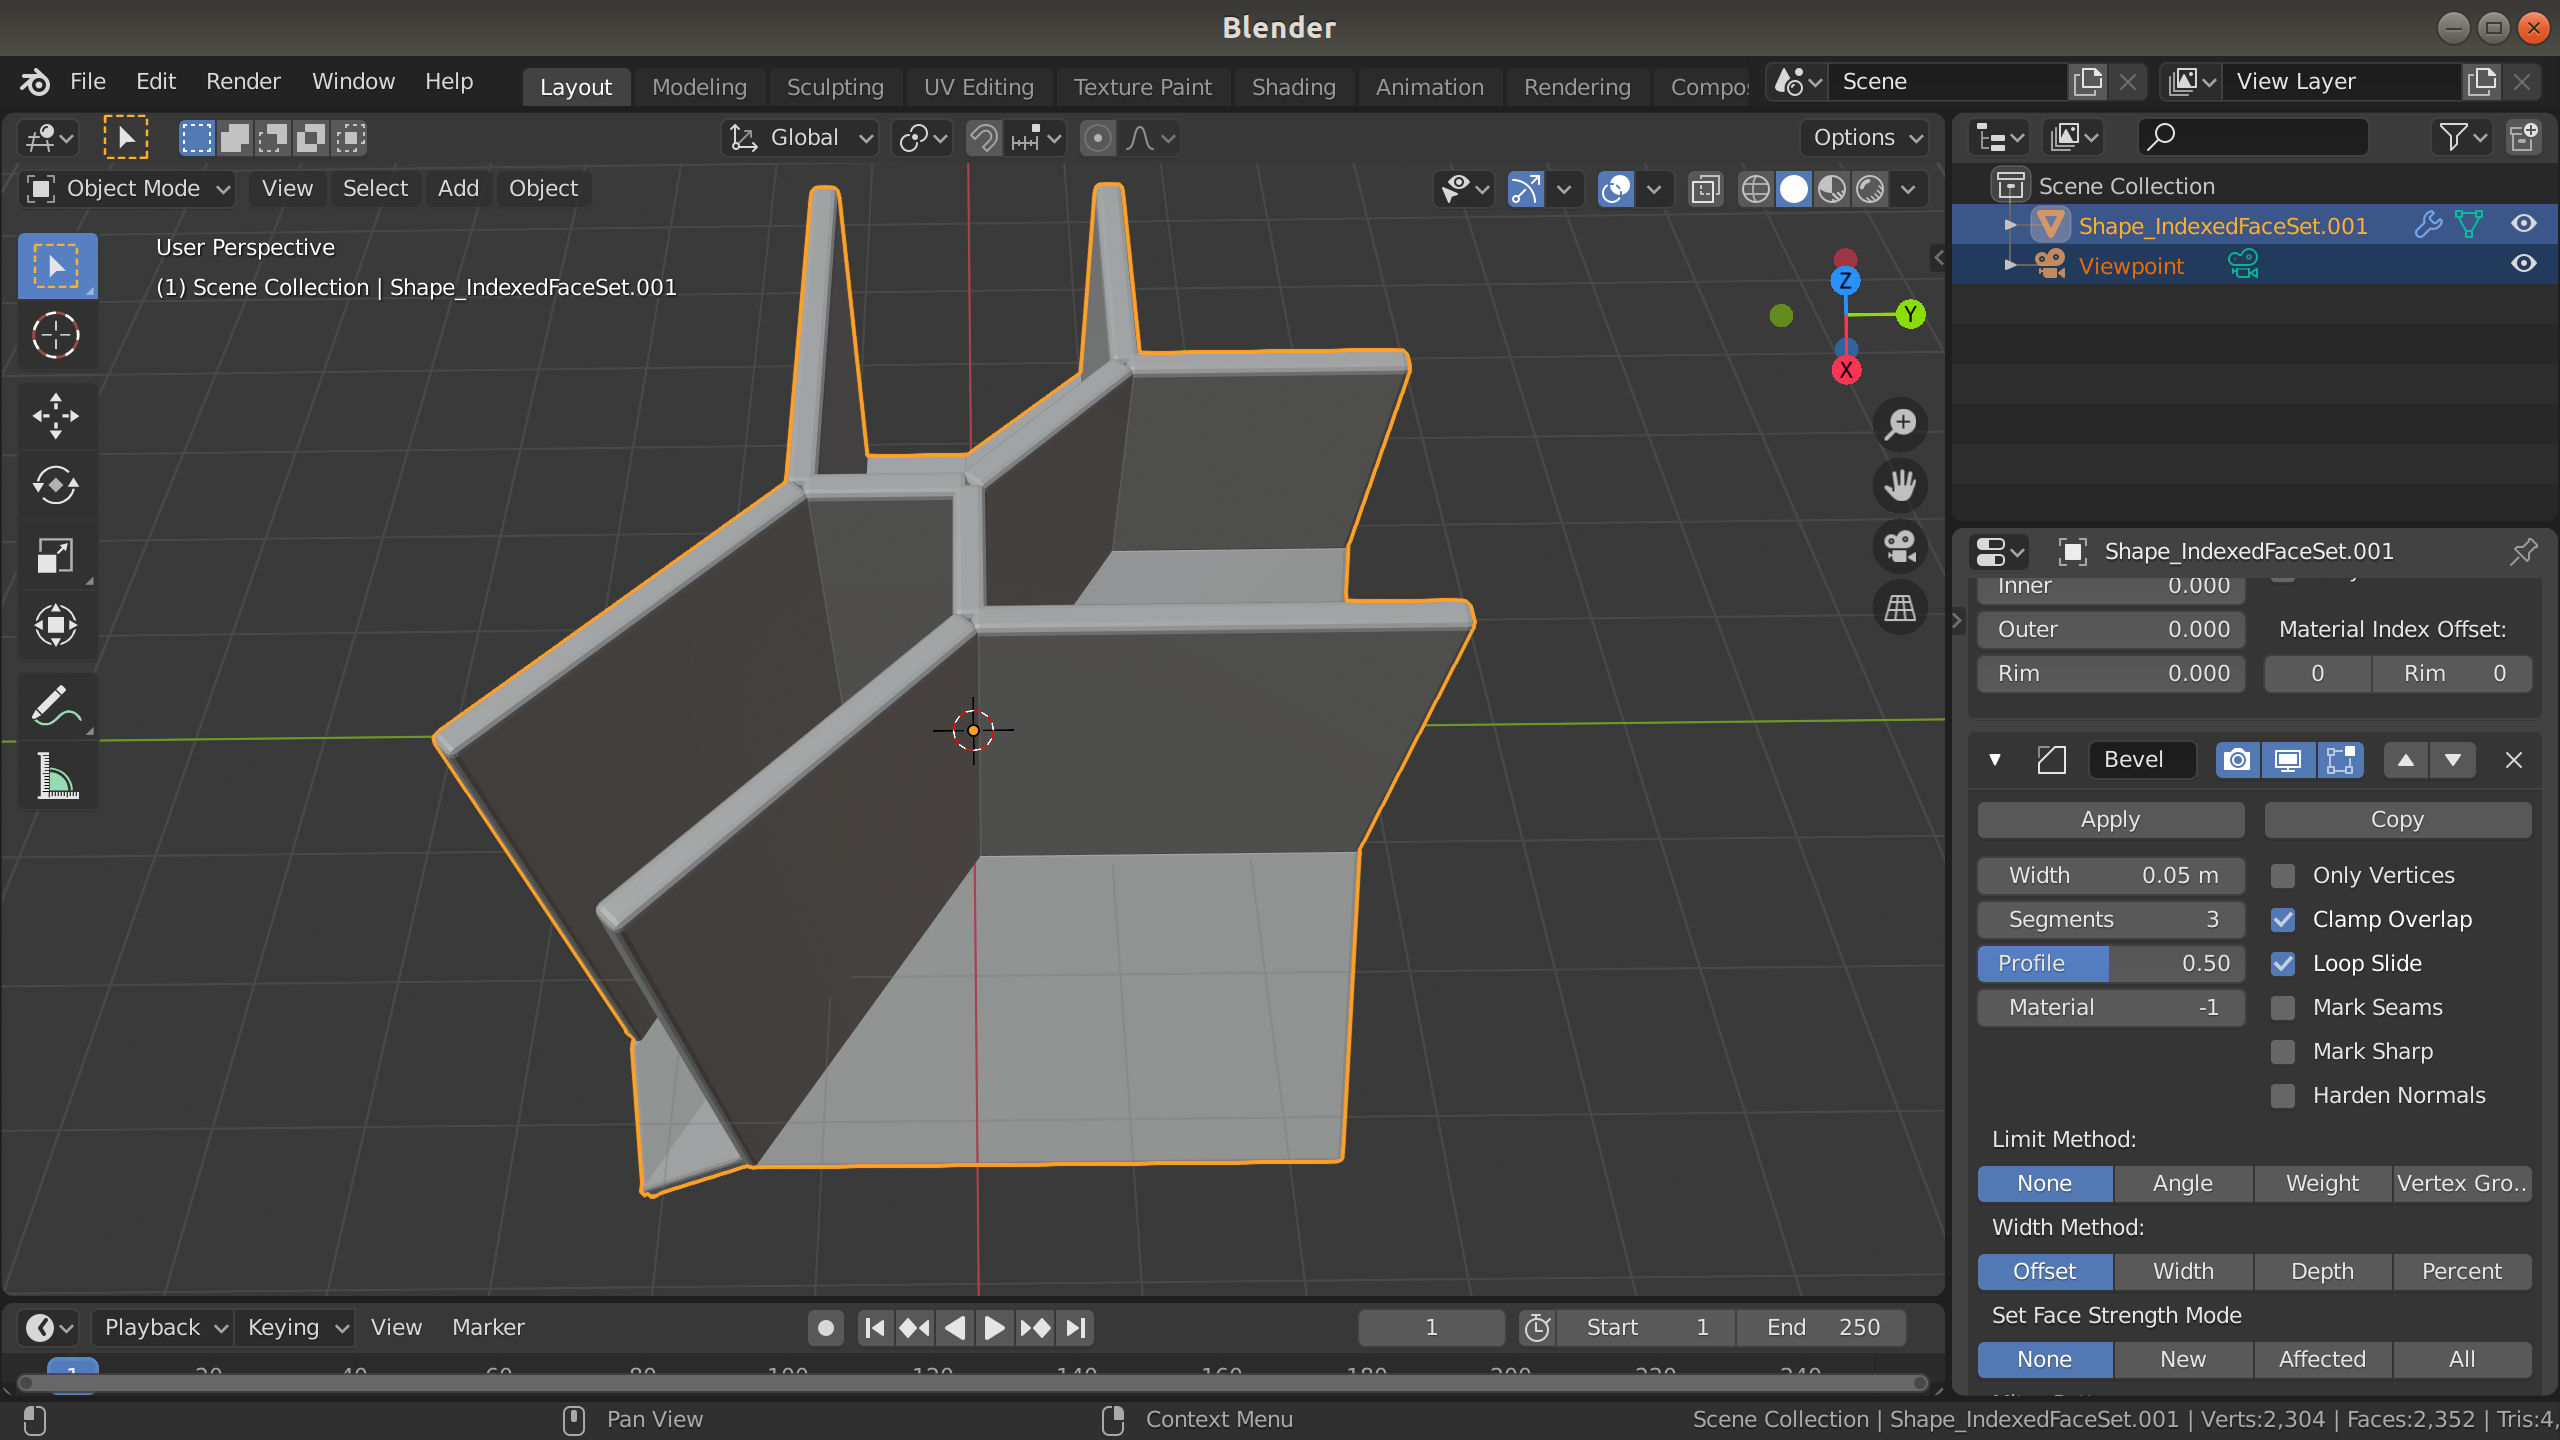
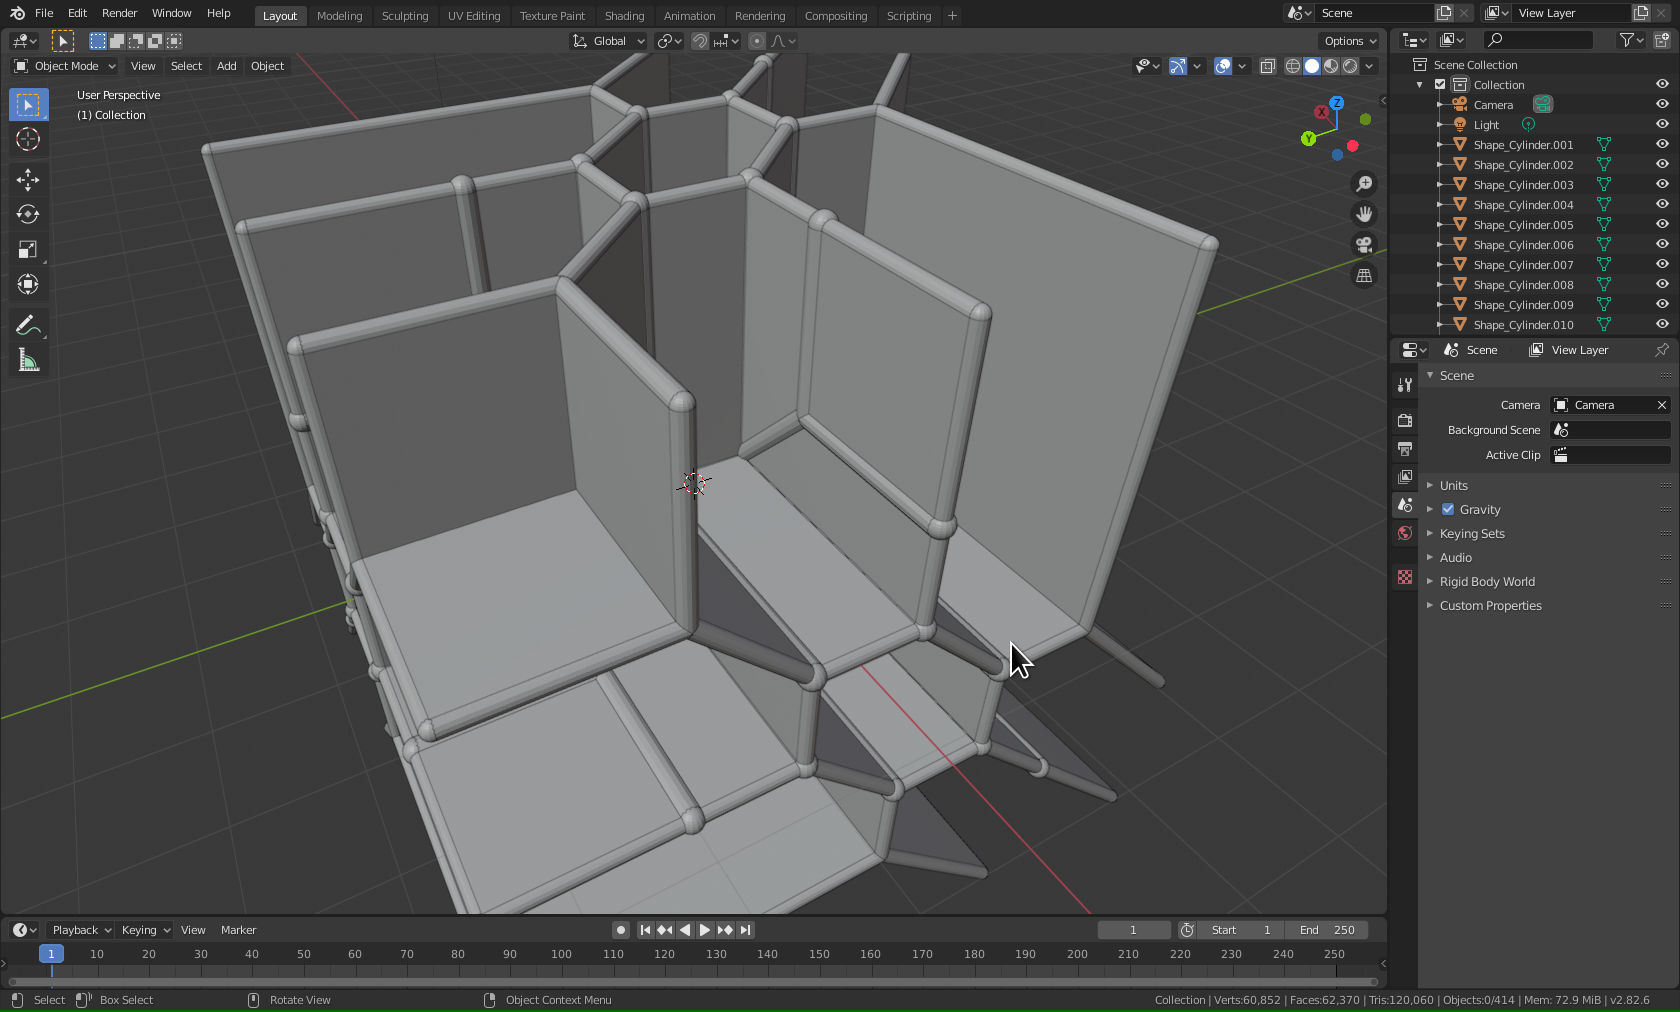
- Add a Bevel modifier and adjust Segments, Width (optional)
Option B: in polymake
To solidify the surface in polymake, we need to decide on the planned size of the model and the desired cell thickness. A minimal thickness of 2mm is recommended for printing with plastics.
> $total_mm = 100;  #planned size of the model
> $surface_mm = 2;  #desired cell thickness
>
> $bFacets = polytope::bounding_box_facets($TQuadric->affine_chart->VERTICES,offset=>1,surplus_k=>0.4, make_cube=>1);
> $diam = $bFacets->[0]->[0] + $bFacets->[1]->[0];
> $surface_abs = $surface_mm * $diam/$total_mm;     #absolute surface thickness in the x3d file
> $solidifiedQuadricCells = solidify_2d_pcom($TQuadric->affine_chart,$surface_abs);
> @solidifiedQuadricCellsVis = map { $_->VISUAL($surface_opts,BoundingFacets=>$bFacets) } @$solidifiedQuadricCells;
> x3d(compose(@solidifiedQuadricCellsVis),File=>$x3d_dir."TQuadricSolidified.x3d");
> compose(@solidifiedQuadricCellsVis);
Tropical Curves
A: creating tropical curves in polymake
The simplest way to construct tropical curves in polymake is to write them as the stable intersection of two tropical hypersurfaces.
> $mQuadric = [ [2,0,0,0], [0,2,0,0], [0,0,2,0], [0,0,0,2],
>               [1,1,0,0], [1,0,1,0], [1,0,0,1],
>               [0,1,1,0], [0,1,0,1], [0,0,1,1]];
> $cQuadric = [1,-1/4,-2/4,-3/4,-3/4,-4/4,-5/4,2/4,0,-2/4];
> $TQuadric = new Hypersurface<Min>(MONOMIALS=>$mQuadric, COEFFICIENTS=>$cQuadric);
> $mCubic = [ [3,0,0,0], [0,3,0,0], [0,0,3,0], [0,0,0,3],
>             [1,1,1,0], [1,1,0,1], [1,0,1,1], [0,1,1,1],
>             [2,1,0,0], [2,0,1,0], [2,0,0,1],
>             [1,2,0,0], [1,0,2,0], [1,0,0,2],
>             [0,2,1,0], [0,2,0,1], [0,1,2,0],
>             [0,1,0,2], [0,0,2,1], [0,0,1,2]];
> $cCubic = [3,3,3,3,0,0,0,0,1,1,1,1,1,1,1,1,1,1,1,1];
> $TCubic = new Hypersurface<Min>(MONOMIALS=>$mCubic, COEFFICIENTS=>$cCubic);
> $TSextic = intersect($TQuadric,$TCubic);
> $TSextic->VISUAL;
B: exporting tropical curves from polymake
Unlike tropical hypersurfaces, preparing tropical curves for a 3d print is a bit more involved process. Since there is no satisfying way to solidify lines in default blender, we recommend using Polymake for solidification.
For that, we need to decide on a bounding box, the planned size of the model, and the desired edge / vertex thickness. The first line below creates a bounding box based on the vertices of the tropical curve:
> $bFacets = polytope::bounding_box_facets($TSextic->affine_chart->VERTICES,offset=>1,surplus_k=>0.4, make_cube=>1);
> $total_mm = 100; #planned size of the model
> $edges_mm = 2;   #desired edge diameter
> $vertex_mm = 2;  #desired vertex diameter
>
> $diam = $bFacets->[0]->[0] + $bFacets->[1]->[0];
> $vertex_diam = ($vertex_mm*$diam/$total_mm)/(1-$vertex_mm/$total_mm);
> $edges_diam = ($edges_mm*$diam/$total_mm)/(1-$vertex_mm/$total_mm);
> # this subroutine (sourced above) returns a set of VISUAL options that
> # make sure the curve ends up with the the calculated dimensions in the x3d file
> $curve_opts = x3dprint_curve_opts($vertex_diam,$edges_diam);
>
> # curves should be bounded beforehand to ensure all new vertices are also shown correctly
> $bPolytope = new polytope::Polytope(FACETS=>$bFacets);
> $bComplex = new fan::PolyhedralComplex(fan::check_fan_objects(($bPolytope)));
> $TSexticBounded = pcom_common_ref($TSextic->affine_chart, $bComplex);
> # export the curve
> x3d($TSexticBounded->VISUAL($curve_opts),File=>$x3d_dir."TSextic.x3d");
Step 3: framing tropical curves in polymake
For 3d-printing we recommend crafting a frame which stabilizes the curve. The easiest way to craft a frame is using the intersection of the bounding box facets and one of the two tropical hypersurfaces which cut out the curve.
> $qFrame = pcom_common_ref($bPolytope->BOUNDED_COMPLEX,$TQuadric->affine_chart);
> $cFrame = pcom_common_ref($bPolytope->BOUNDED_COMPLEX,$TCubic->affine_chart);
> $qFrame->VISUAL; # visualizing frames
> $cFrame->VISUAL;
These frames can be exported into separate models
> x3d($qFrame->VISUAL($curve_opts),File=>$x3d_dir."QuadricFrame.x3d"); # exporting frames
> x3d($cFrame->VISUAL($curve_opts),File=>$x3d_dir."CubicFrame.x3d");
Tropical curves on tropical surfaces
3d-printing tropical curves on tropical surfaces is only minimally more involved than creating individual curves and surfaces. One straighforward way is to follow the previous tutorials for surfaces and curves while making sure that:
- the curve is well visible, i.e., that the curve is sufficiently thick,
- both curve and surface share the same bounding box.
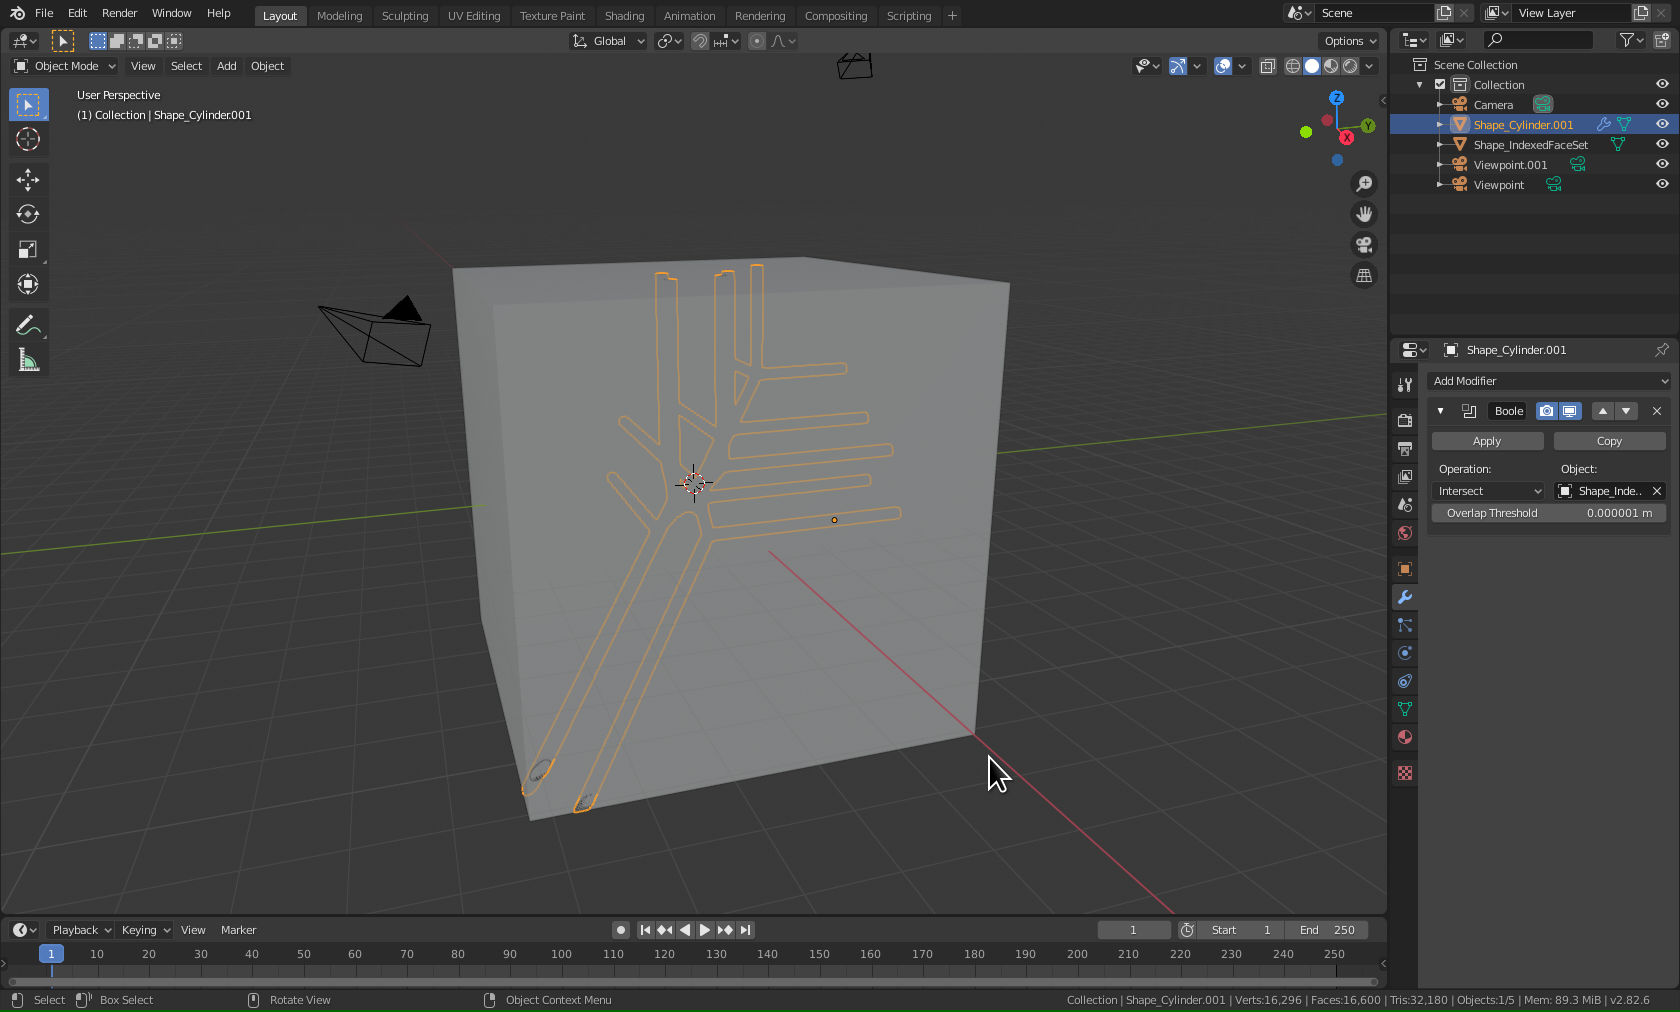
Below we show a more involved way, which leads to a better final model. In this example we will employ a boolean intersection modifier to the curve in blender and the model will end up with the exact same dimensions as the bounding cube.
Step 0: preparations
> $surface_opts = {VertexStyle=>'hidden',EdgeStyle=>'hidden'};
>
> $total_mm = 100; #planned size of the model
> $curve_mm = 3;   #desired edge diameter
> $surface_mm = 2;  #desired surface thickness (for solidfying in polymake)
> $surface_abs = $surface_mm * $diam/$total_mm;
> $curve_diam = $curve_mm * $diam/$total_mm;
> $surface_opts = {VertexStyle=>'hidden',EdgeStyle=>'hidden'}; # hide vertex and edge labels
> $curve_opts = x3dprint_curve_opts($curve_diam,$edges_diam);
>
> $bFacets = polytope::bounding_box_facets($TCubic->affine_chart->VERTICES,offset=>1,surplus_k=>0.4, make_cube=>1);
> $diam = $bFacets->[0]->[0] + $bFacets->[1]->[0]; # diameter of the bounding box
Export the solidified cubic, the bounding cube
> $bPolytope = new polytope::Polytope(FACETS=>$bFacets);
> x3d(compose($bPolytope->VISUAL($surface_opts)),File=>$x3d_dir."BoundingCube.x3d");
>
> $solidifiedCubicCells = solidify_2d_pcom($TCubic->affine_chart,$surface_abs);
> @solidifiedCubicCellsVis = map { $_->VISUAL($surface_opts,BoundingFacets=>$bFacets) } @$solidifiedCubicCells;
> x3d(compose(@solidifiedCubicCellsVis),File=>$x3d_dir."TCubicSolidified.x3d");
and the sextic curve with a bigger bounding box
> $b2Facets = polytope::bounding_box_facets($TCubic->affine_chart->VERTICES,surplus_k=>1, make_cube=>1);
> # apply bounding beforehand
> $b2Polytope = new polytope::Polytope(FACETS=>$b2Facets);
> $b2Complex = new fan::PolyhedralComplex(fan::check_fan_objects(($b2Polytope)));
> $b2TSextic = pcom_common_ref($TSextic->affine_chart,$b2Complex);
> compose(@solidifiedCubicCellsVis,$b2TSextic->VISUAL($curve_opts));
> # exporting the uncut sextic curve
> x3d($b2TSextic->VISUAL($curve_opts),File=>$x3d_dir."UncutTSextic.x3d");
Step A: applying the bounding cube to curves in Blender
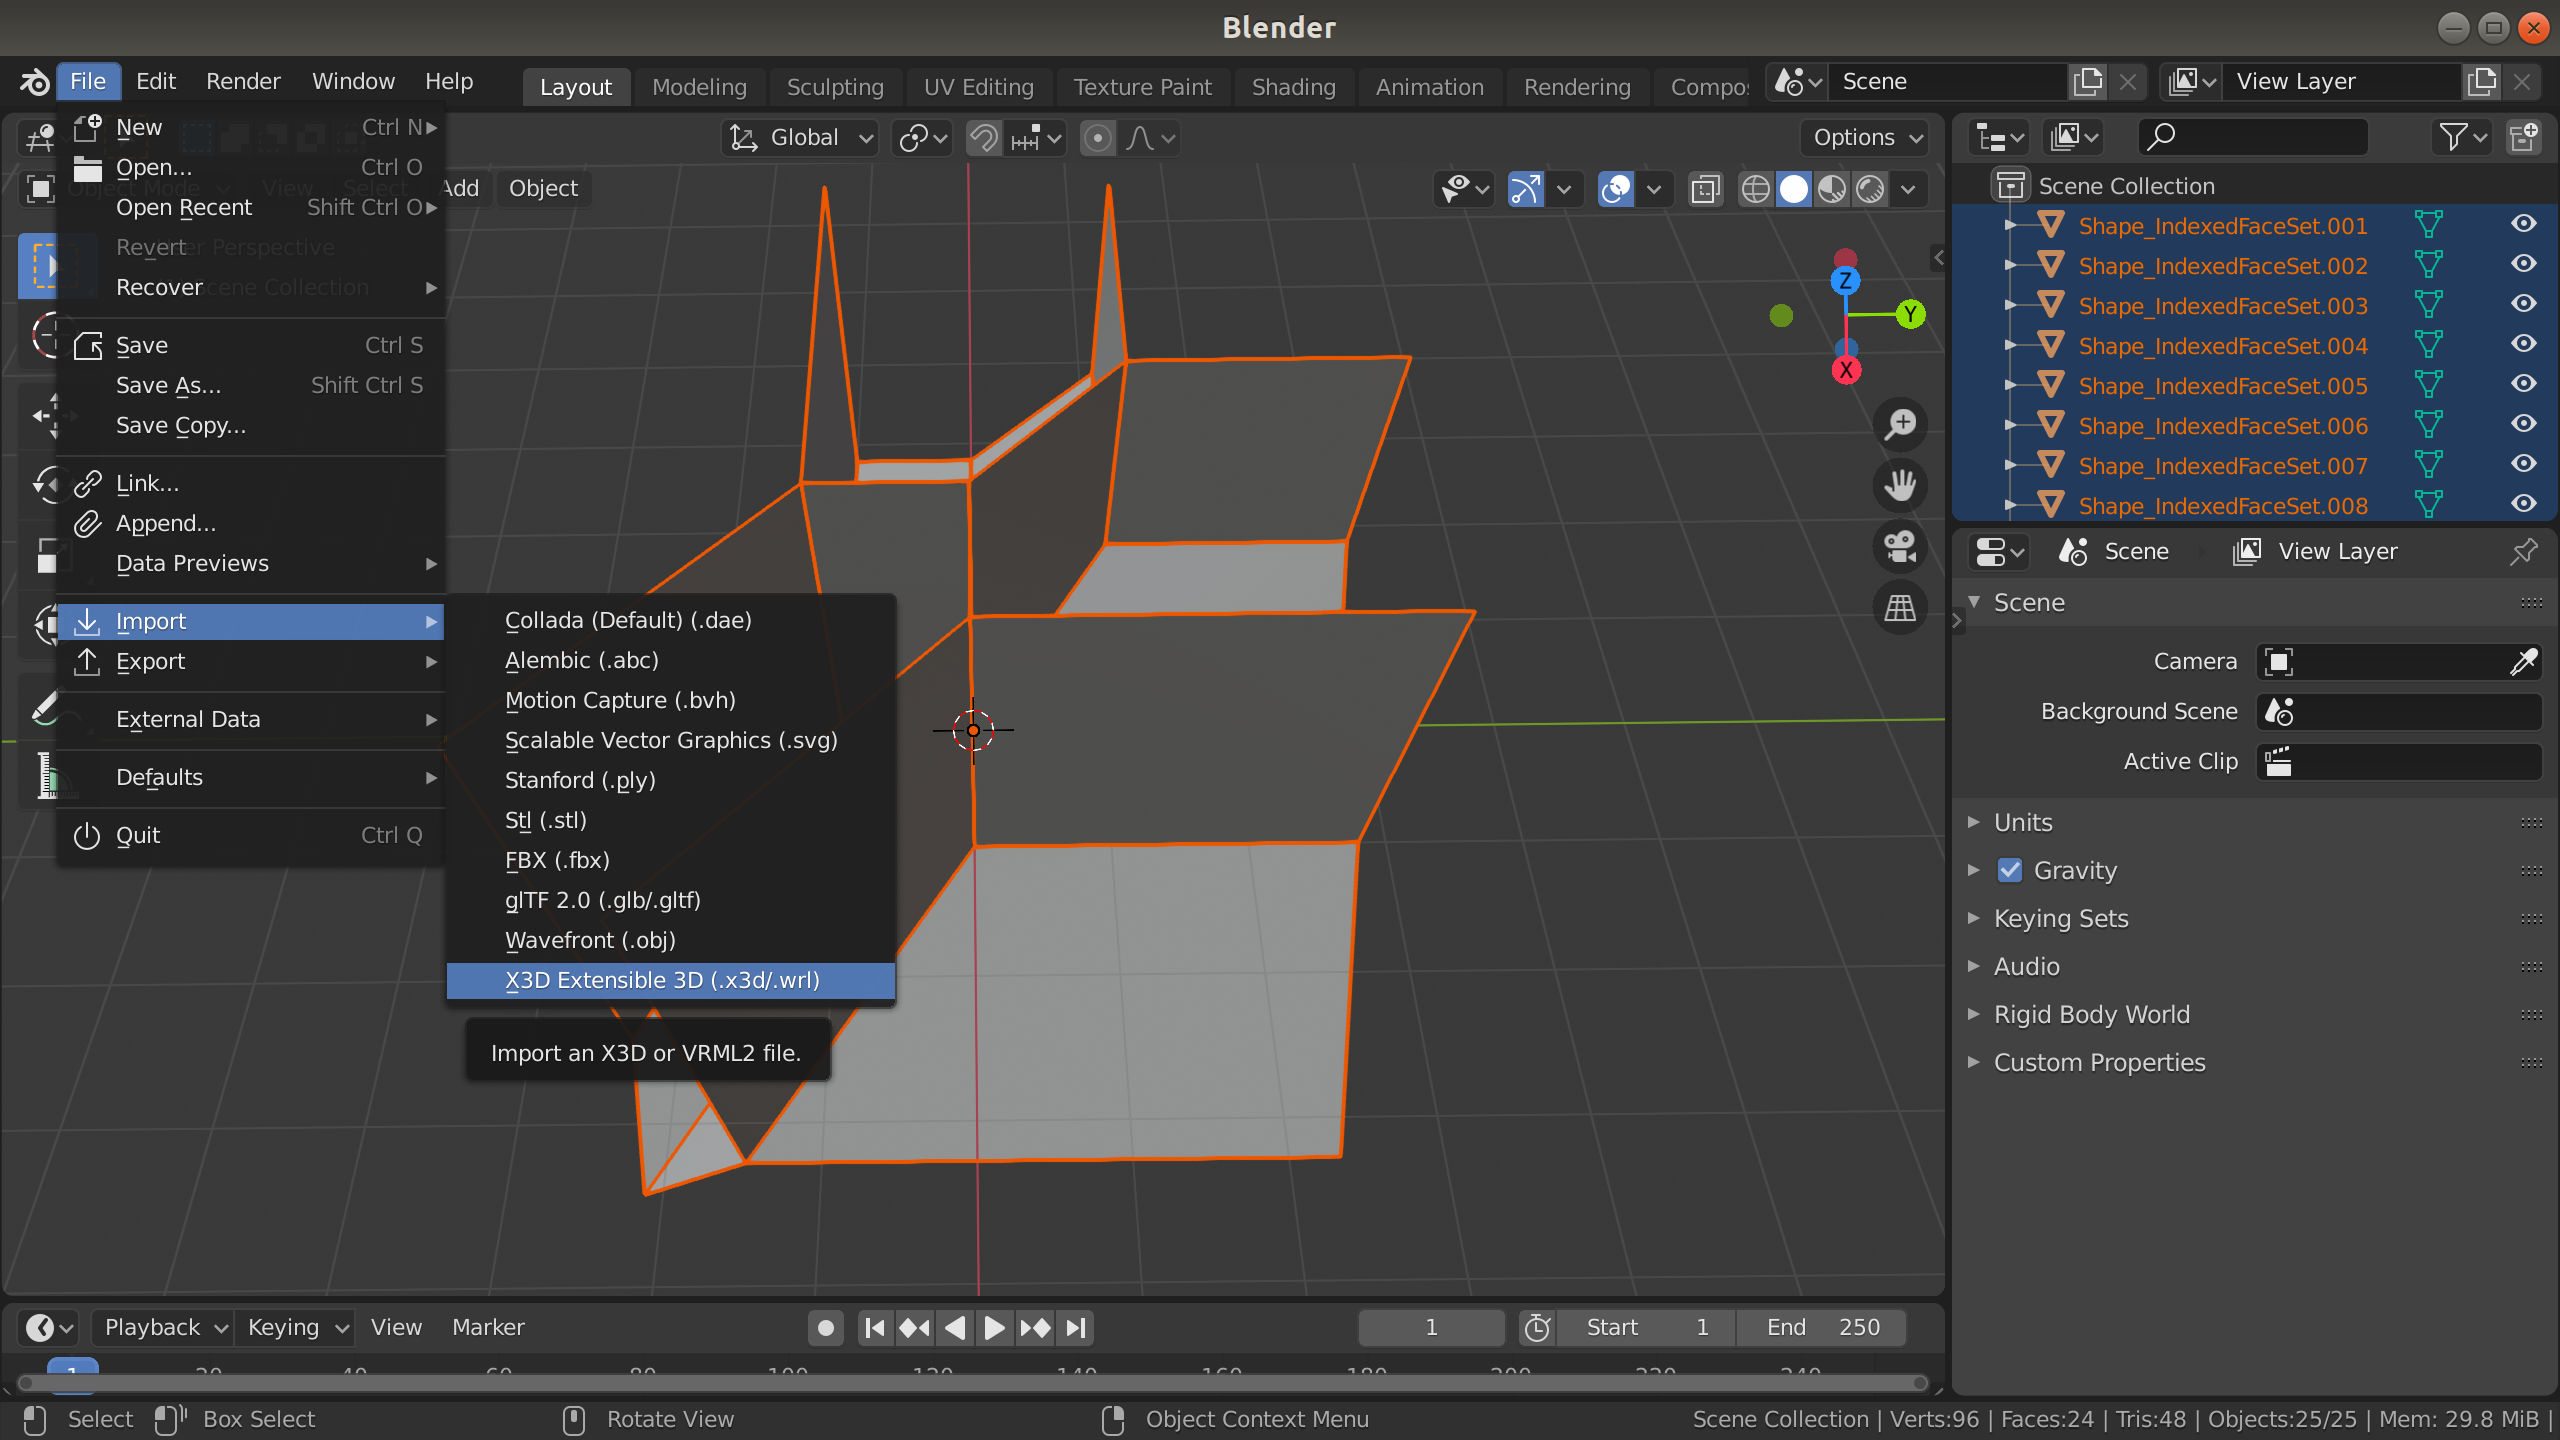
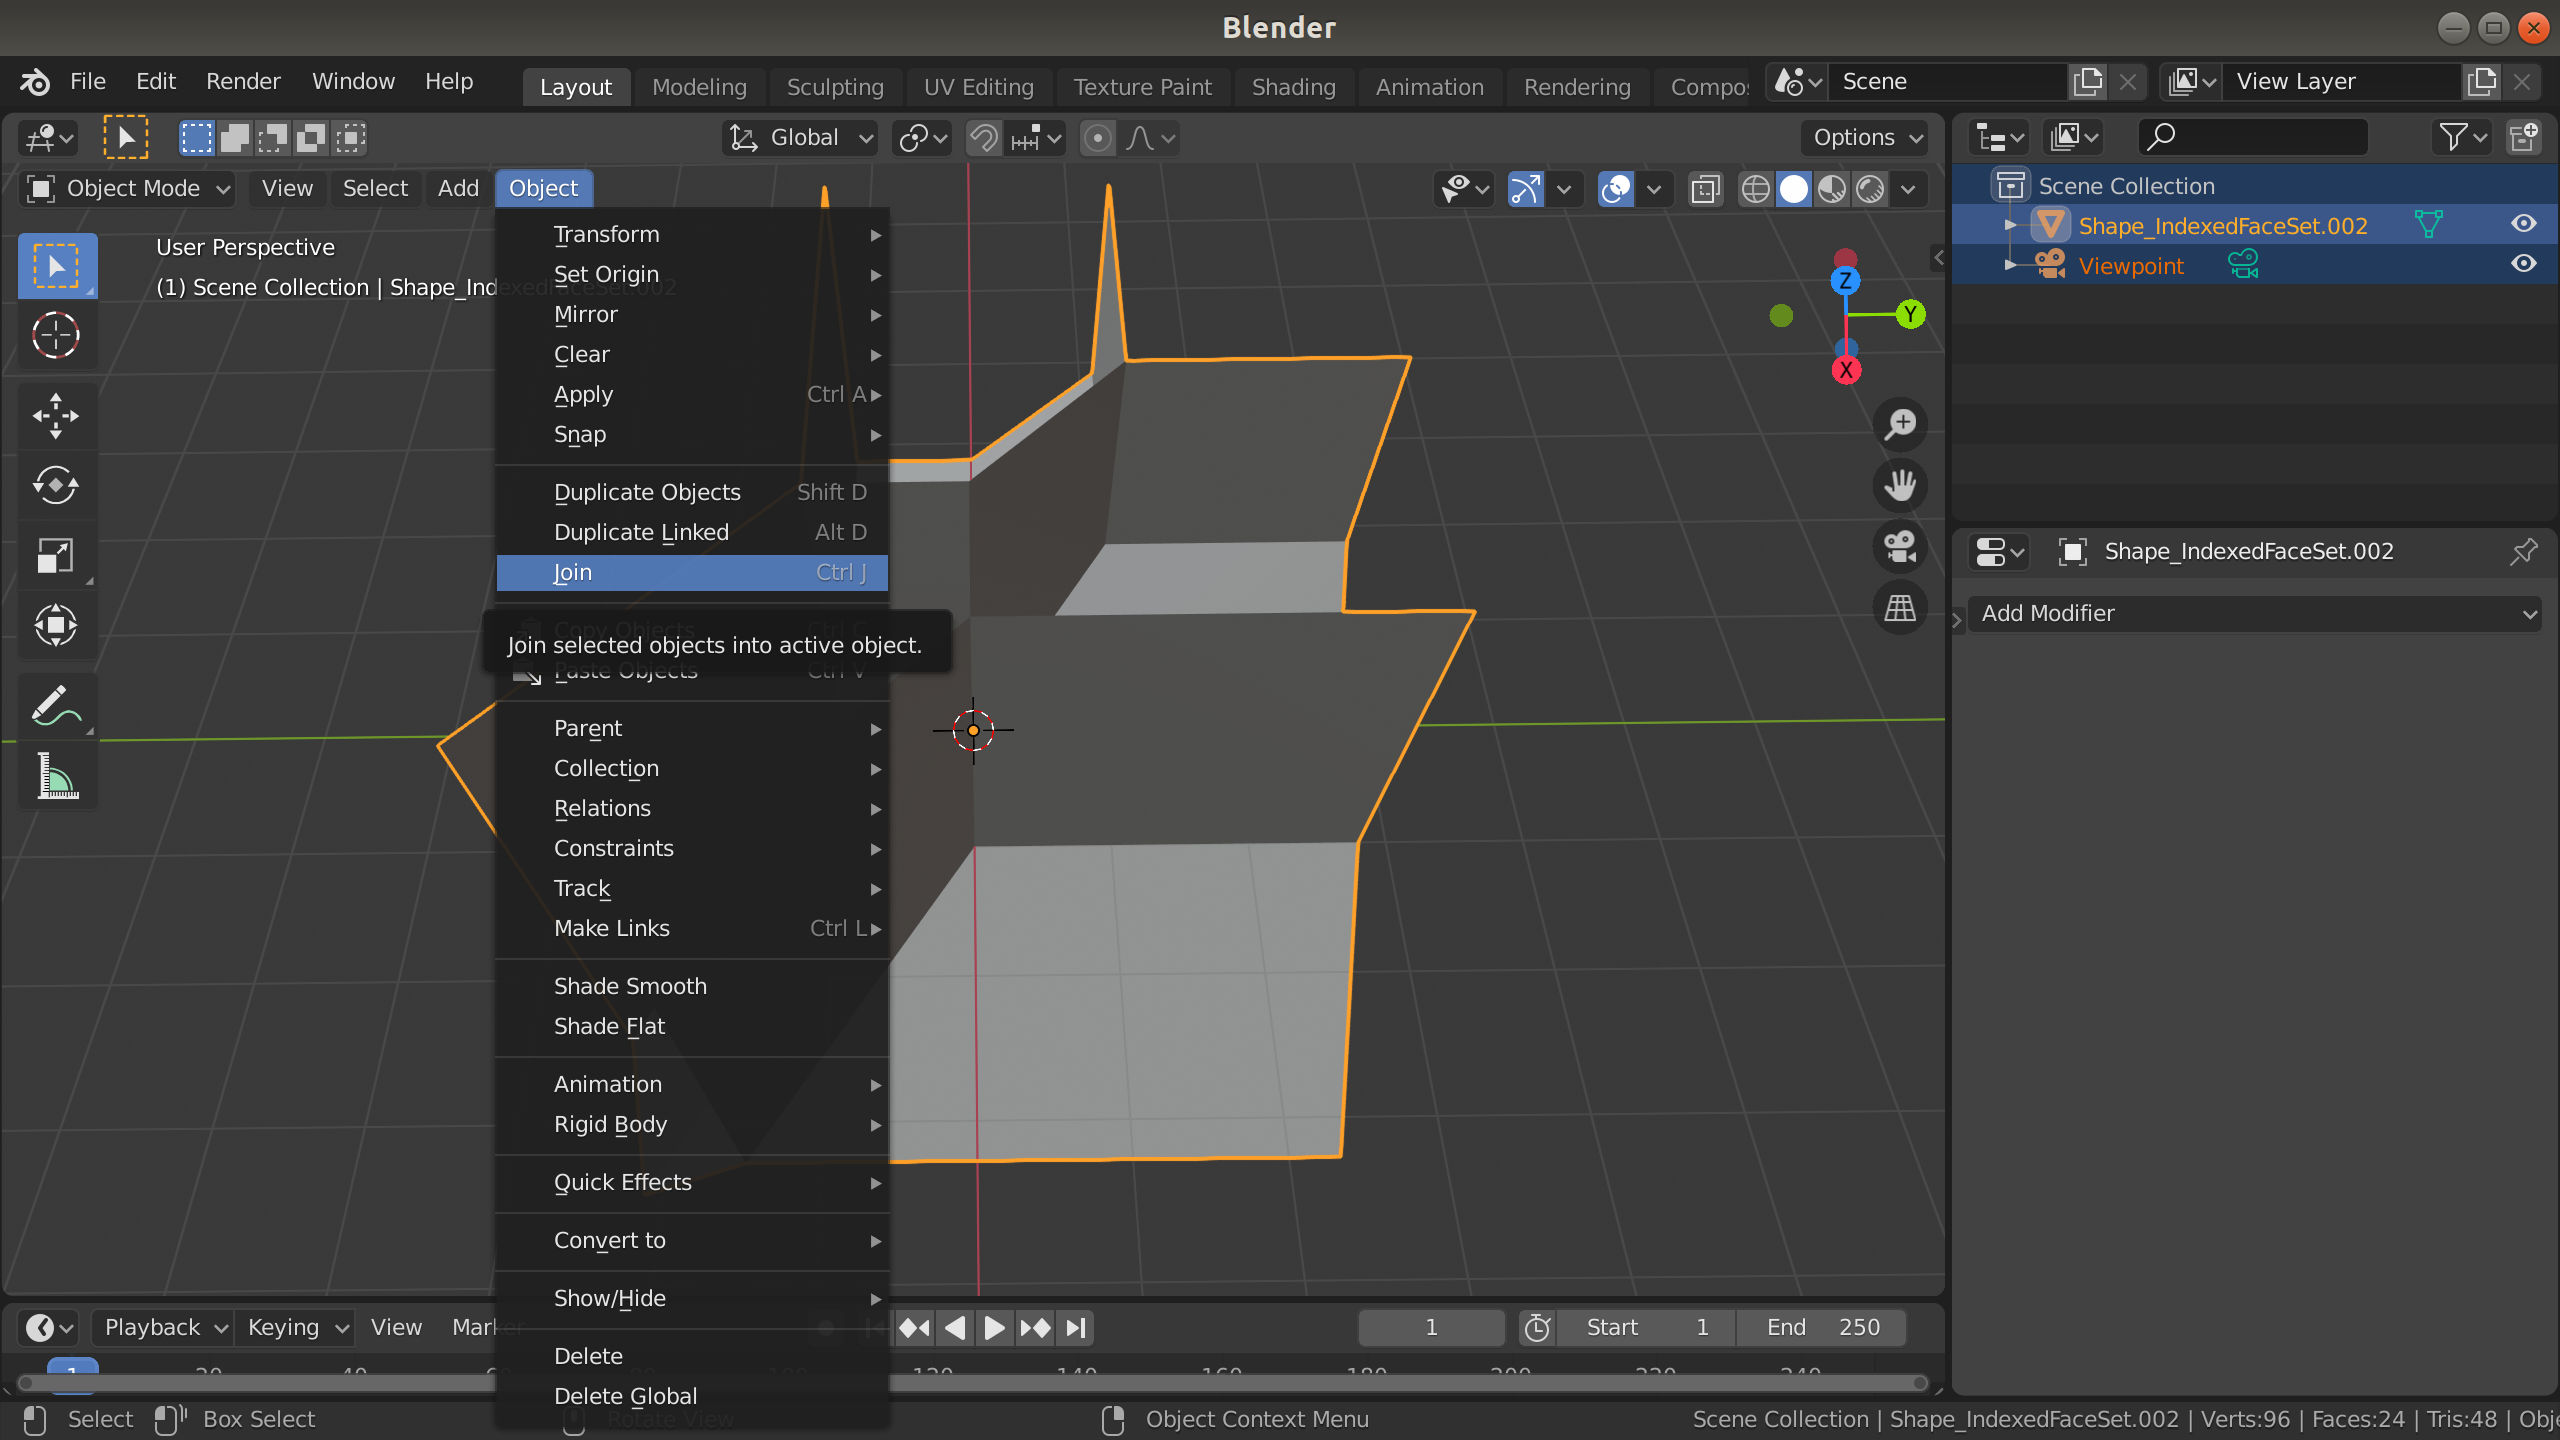
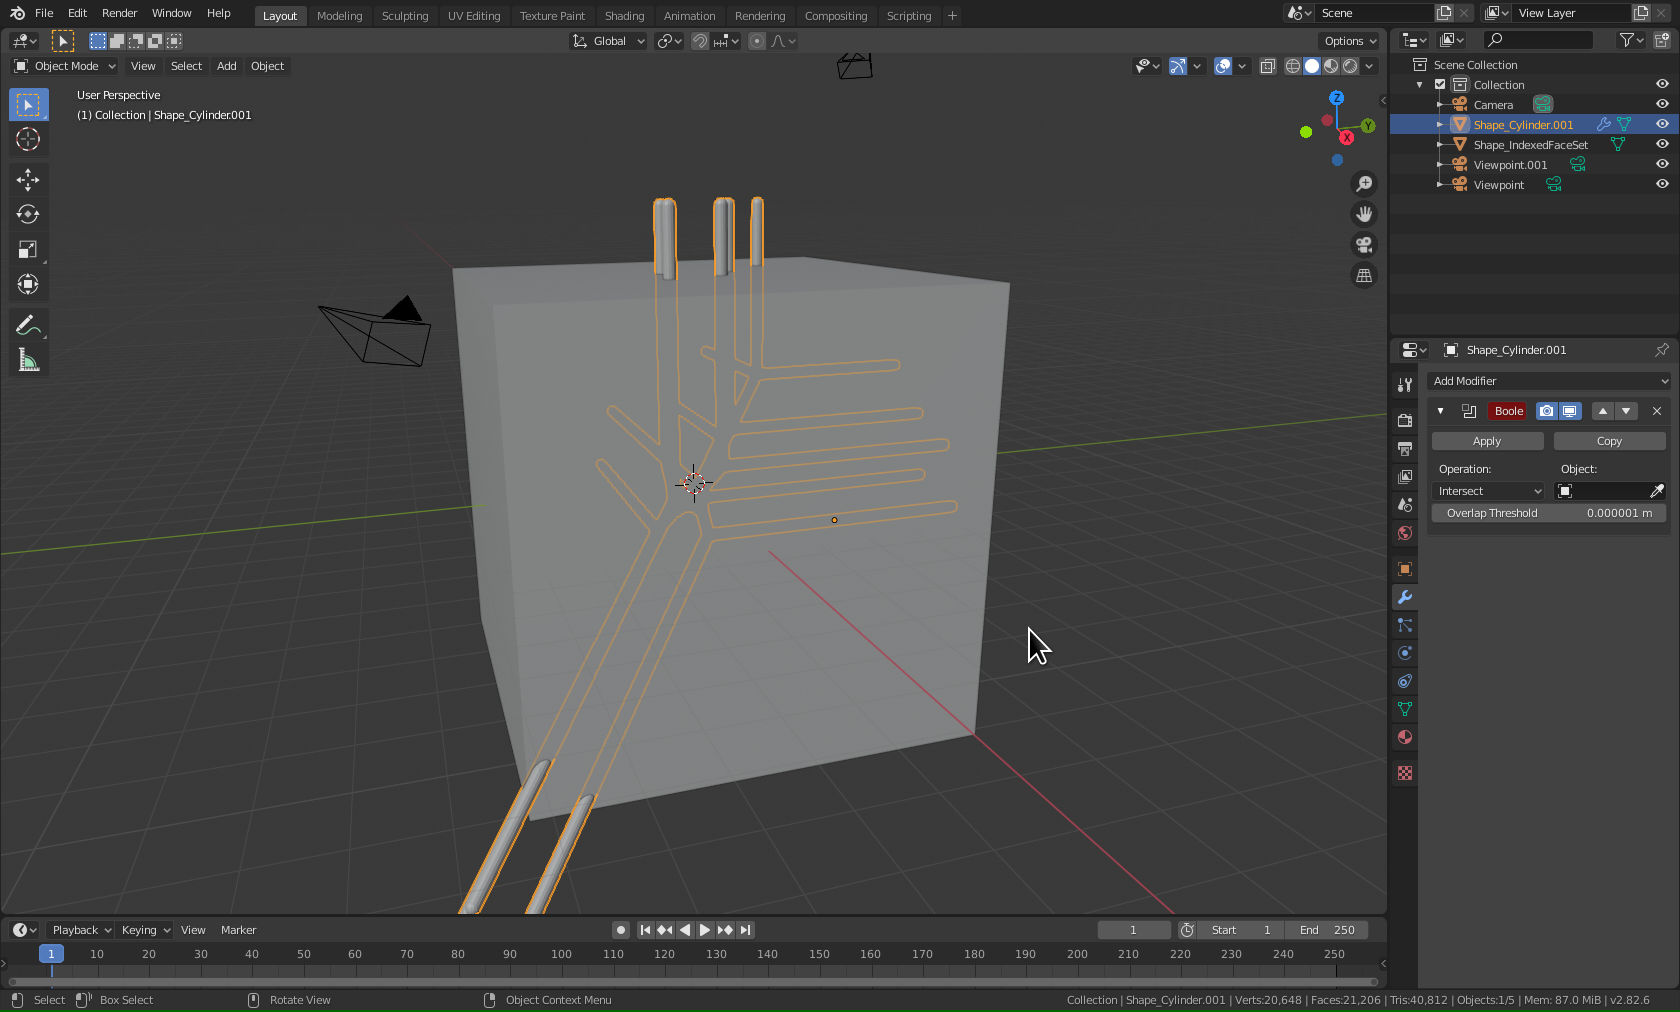
- Import the x3d file of the curve and join all spheres and indexed faceset objects.
- Import the x3d file of the bounding cube.
Tropical lines on tropical cubic surfaces
Polymake is capable of computing all tropical lines on a given tropical cubic surface. Here is how you make a model out of it
> $mCubic2 = [ [3,0,0,0], [0,3,0,0], [0,0,3,0], [0,0,0,3],
>             [1,1,1,0], [1,1,0,1], [1,0,1,1], [0,1,1,1],
>             [2,1,0,0], [2,0,1,0], [2,0,0,1],
>             [1,2,0,0], [1,0,2,0], [1,0,0,2],
>             [0,2,1,0], [0,2,0,1], [0,1,2,0],
>             [0,1,0,2], [0,0,2,1], [0,0,1,2]];
> $cCubic2 = [3,3,3,3,0,0,0,0,1,1,1,1,1,1,1,1,1,1,1,1];
> $TCubic2 = new Hypersurface<Min>(MONOMIALS=>$mCubic2, COEFFICIENTS=>$cCubic2);
> $linesInCubic = lines_in_cubic($TCubic->POLYNOMIAL);
> @lines = map { $_->representative } @{$linesInCubic->all_families};
In this model we are going to use the bounding cube intersection frame (as in a previous section) to round the edges of the surface. We will also keep the spheres as caps for our lines, hence the model will be one lines diameter bigger than the actual bounding box.
> $bFacets = polytope::bounding_box_facets($TCubic2->affine_chart->VERTICES,surplus_k=>0.4, make_cube=>1);
> $diam = $bFacets->[0]->[0] + $bFacets->[1]->[0];
> $total_mm = 100;  #planned size of the model
> $surface_mm = 2;
> $frame_mm = $surface_mm;
> $lines_mm = 3;
>
> $surface_abs = ($surface_mm*$diam/$total_mm)/(1-$lines_mm/$total_mm);
> $frame_diam = ($frame_mm*$diam/$total_mm)/(1-$lines_mm/$total_mm);
> $lines_diam = ($lines_mm*$diam/$total_mm)/(1-$lines_mm/$total_mm);
> $surface_opts = {VertexStyle=>'hidden',EdgeStyle=>'hidden'};
> $frame_opts = x3dprint_curve_opts($frame_diam,$frame_diam);
> $lines_opts = x3dprint_curve_opts($lines_diam,$lines_diam);
>
> $bPolytope = new polytope::Polytope(FACETS=>$bFacets);
> $bComplex = new fan::PolyhedralComplex(fan::check_fan_objects(($bPolytope)));
Please note that, in contrast to the examples before, the cubic is bound before solidifying. Otherwise the frame won't fit correctly
> $TCubic2Bounded = pcom_common_ref($TCubic2->affine_chart,$bComplex);
> $solidifiedTCubic2Cells = solidify_2d_pcom($TCubic2Bounded,$surface_abs);
> @solidifiedTCubic2CellsVis = map { $_->VISUAL($surface_opts) } @$solidifiedTCubic2Cells;
>
> # the frame
> $c2frame = pcom_common_ref($TCubic2->affine_chart, $bPolytope->BOUNDED_COMPLEX);
> $c2frameVis = $c2frame->VISUAL($frame_opts);
>
> # the lines
> $bPolytope = new polytope::Polytope(FACETS=>$bFacets);
> @linesBounded = map { pcom_common_ref($_->affine_chart,$bComplex) } @lines;
> @linesVis = map { $_->VISUAL($lines_opts) } @linesBounded;
> x3d(compose(@solidifiedTCubic2CellsVis,$c2frameVis,@linesVis),File=>$x3d_dir."LinesInTCubic2SolidifiedRadiused.x3d");
